Ingredients/Equipment Needed
- 1 cup flour
- 1/2 cup salt
- 1/2 cup water
- Rolling pin
- Cookie sheet
- Drinking straw
- Holiday shaped cookie cutters
- Acrylic paints
- Paintbrush
- Glitter (optional)
- Ribbon
- Parchment paper
Prep Time: 20 minutes
Bake Time: 1 1/2-2 hours, preheat oven to 250 F
Before you start to make the dough don't forget to preheat the oven to 250 F. In a large bowl mix the flour, salt and water. You want it to be soft and pliable. You may need to add more flour and water, but just add a little at a time. I make my dough and put it in the fridge for about an hour because it's much easier to work with as it less sticky.
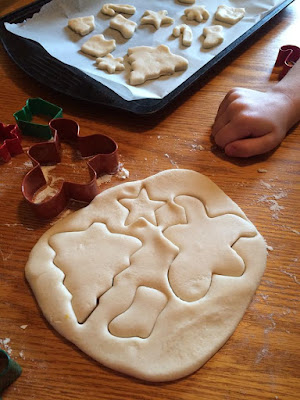
When you are ready to start making your ornaments sprinkle some flour on your counter top or table to prevent the dough from sticking. Using a rolling pin, roll out the dough to 1/4 inch thickness.
When you have finished cutting out all your ornaments, use the drinking straw to punch a hole into each ornament. This is so you can place a ribbon through the ornament for hanging.
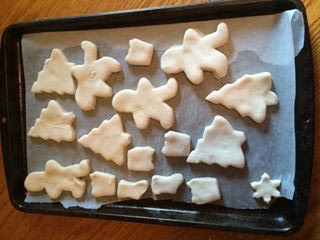
Place ornaments in the oven and bake for 1 1/2-2 hours or until completely dry. Flip once while baking, then remove and allow to cool completely. Oven temperatures vary so watch them closely. Once they are starting to lightly brown flip them. If your ornaments are thicker or thinner baking time will vary as well.
Once they are completely cooled (2-3 hours) you can paint them with acrylic paint. I bought some small, disposable containers at my local dollar store to use. My kids loved painting their ornaments and did a fantastic job!


No comments:
Post a Comment